Ensuring the accuracy of customer details, particularly email addresses and phone numbers, is very important for every lender. Email verification is an effective way to achieve this. You can now configure email verification directly from the admin console. Follow these steps to enable this feature:
Steps to Configure Email Verification
- Start by logging in to your admin console with your credentials.
Access System Configurations
- Click on the settings icon located at the top right corner of your screen.

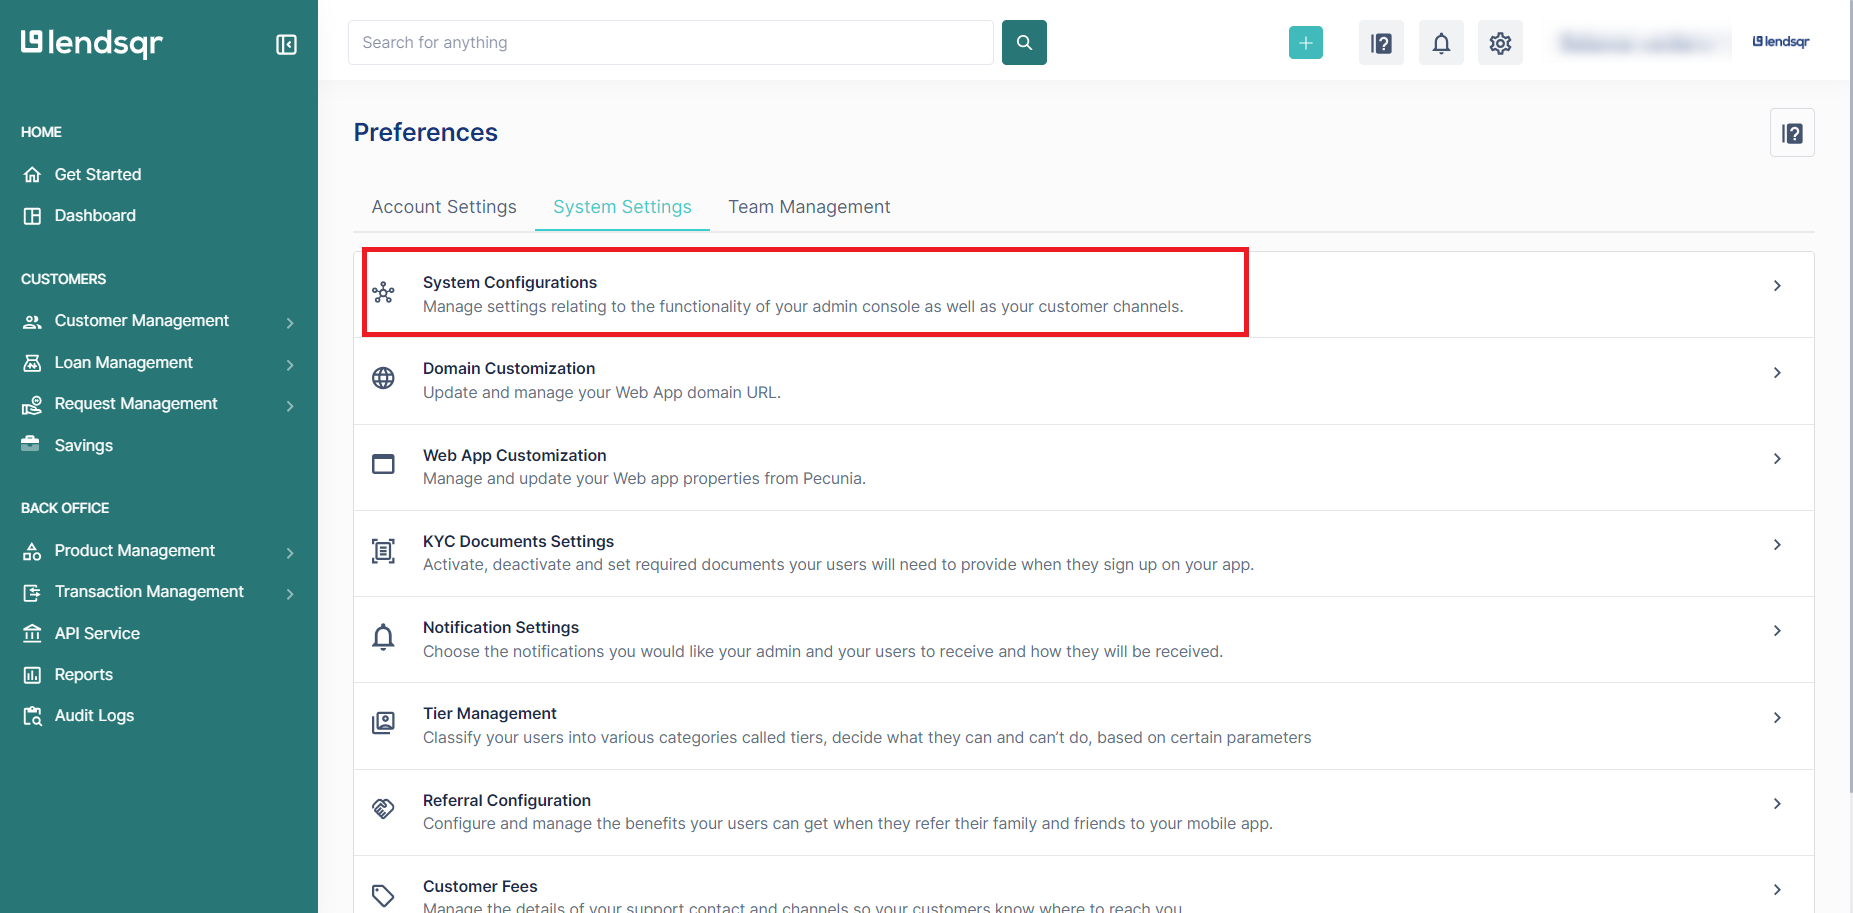
3. Navigate to Preferences
- From the dropdown menu, click on "System configurations" under the "Preferences" page.
4. Select Organization Settings
- On the resulting page, select "Organization settings".

5. Edit Email Verification Setting
- Scroll down to the bottom and navigate to the last page, "3," in the pagination at the bottom.
- Locate the setting "Require Email Verification" and click to edit.


6. Enable Email Verification
- Click on the "Require Email Verification" setting
- Click on the "Edit" button.

- Mark the checkbox to set this option to true.

7. Save Your Changes
- Click "Create" to apply the new setting.
