In today’s competitive lending market, lenders need to engage customers innovatively. Allowing loan applicants to send video messages as part of their loan application adds a personal touch, fosters trust, and provides a better understanding of the borrower’s intentions.
Step-by-Step Guide
1. Login to the Admin Console
- Open your web browser and log into the Lendsqr admin console with your credentials.
2. Click on "Loan Products" under Product Management
- From the main dashboard, go to Product Management and select Loan Products. This will display a list of all the loan products you have created.

3. Create a Loan Product or Open an Existing One
- If you need to create a new loan product, click on the Create button. If you want to an existing loan product, click on the product name to open it.

4. Click on the "Product Attributes" Tab on the Product Page
- In the loan product settings, navigate to the Product Attributes tab. Here, you can manage various attributes of the loan product.

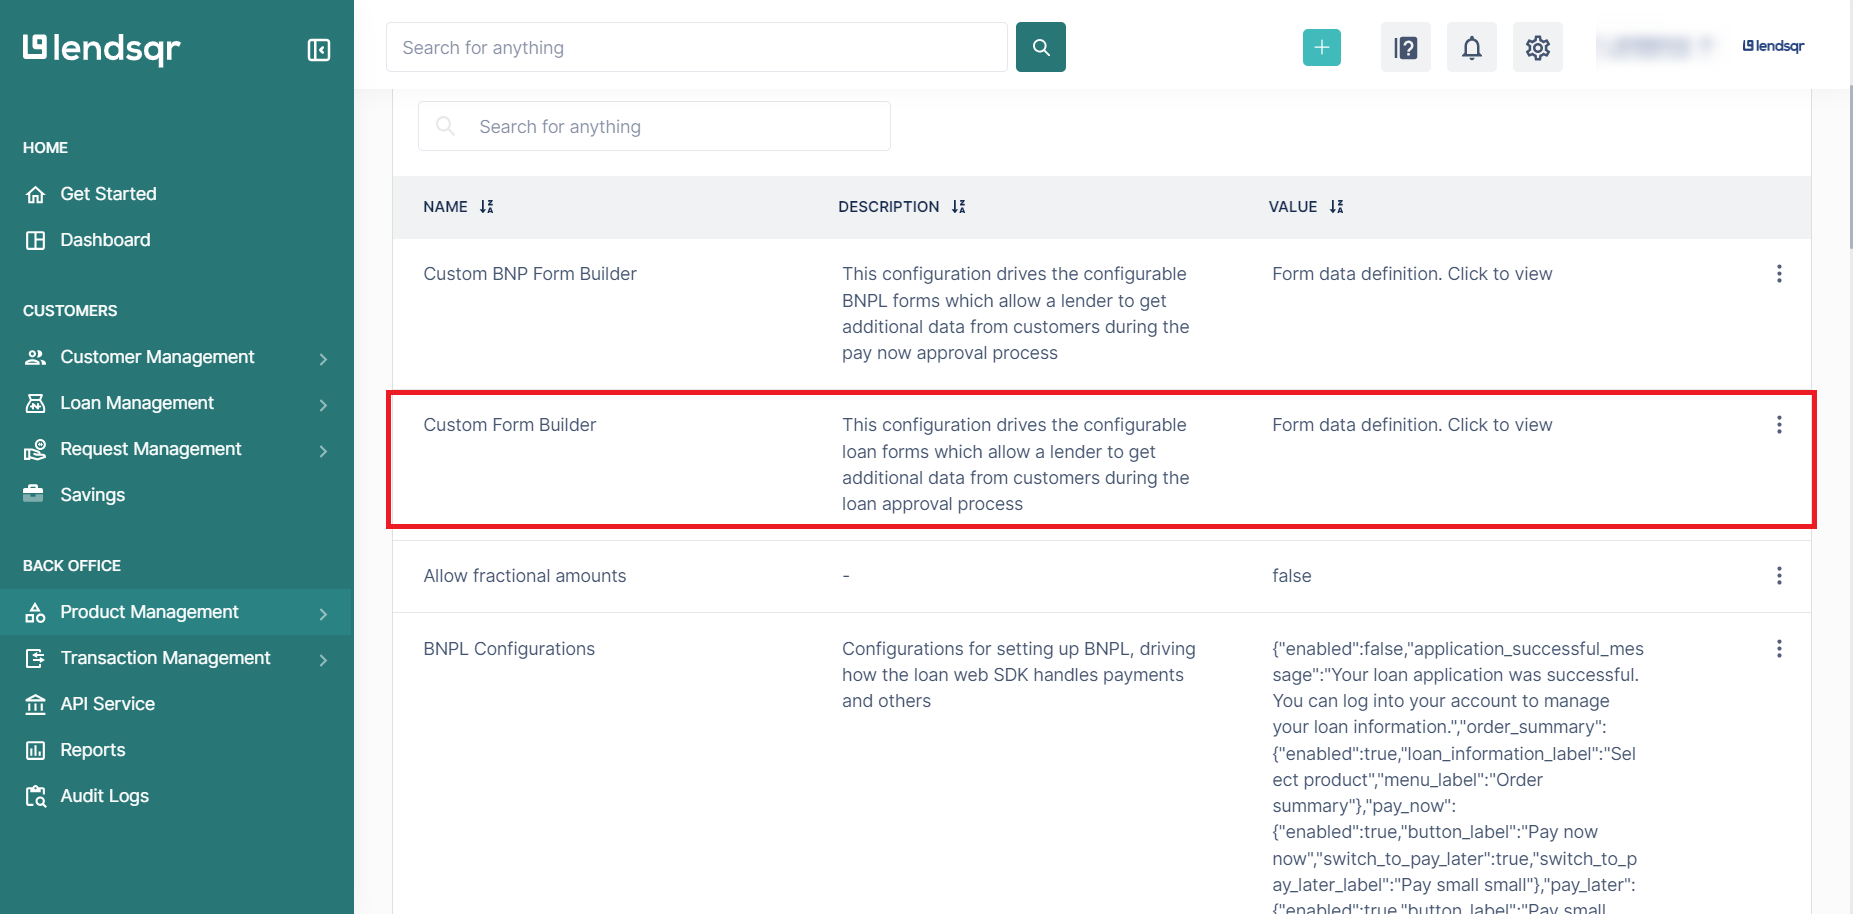
5. Locate the "Custom Form Builder" Attribute
- Scroll through the list of attributes until you find the Custom Form Builder attribute.
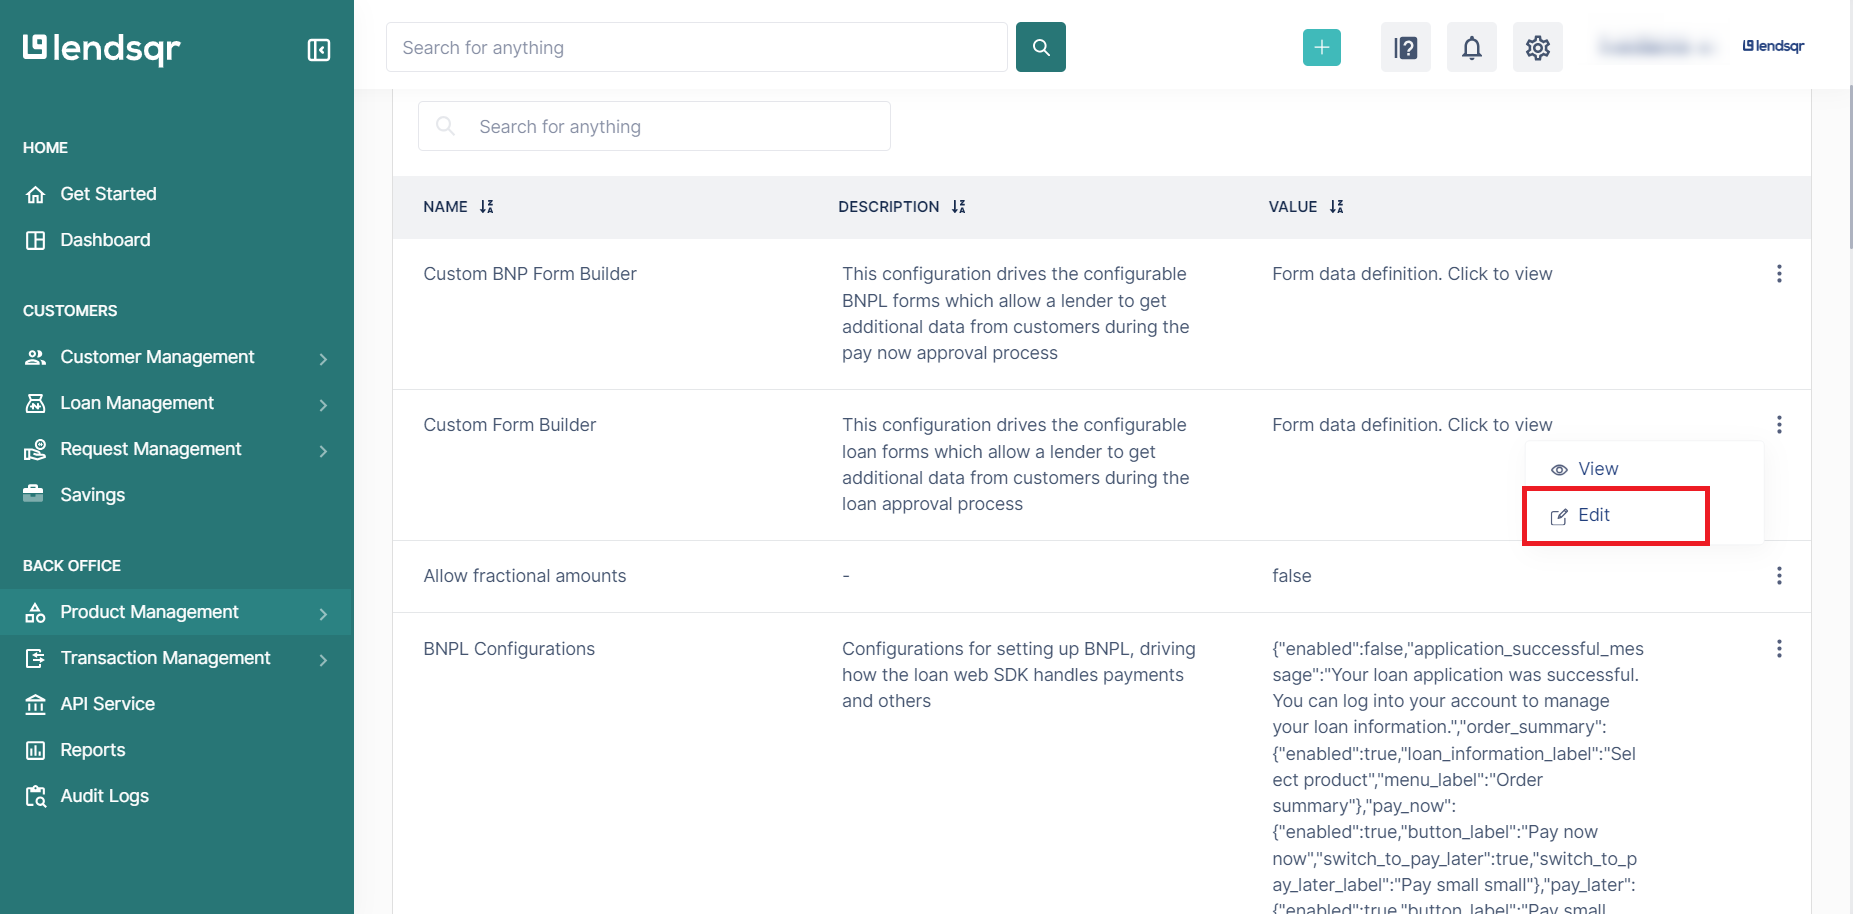
- Click on the more options button and select "Edit" beside this attribute.


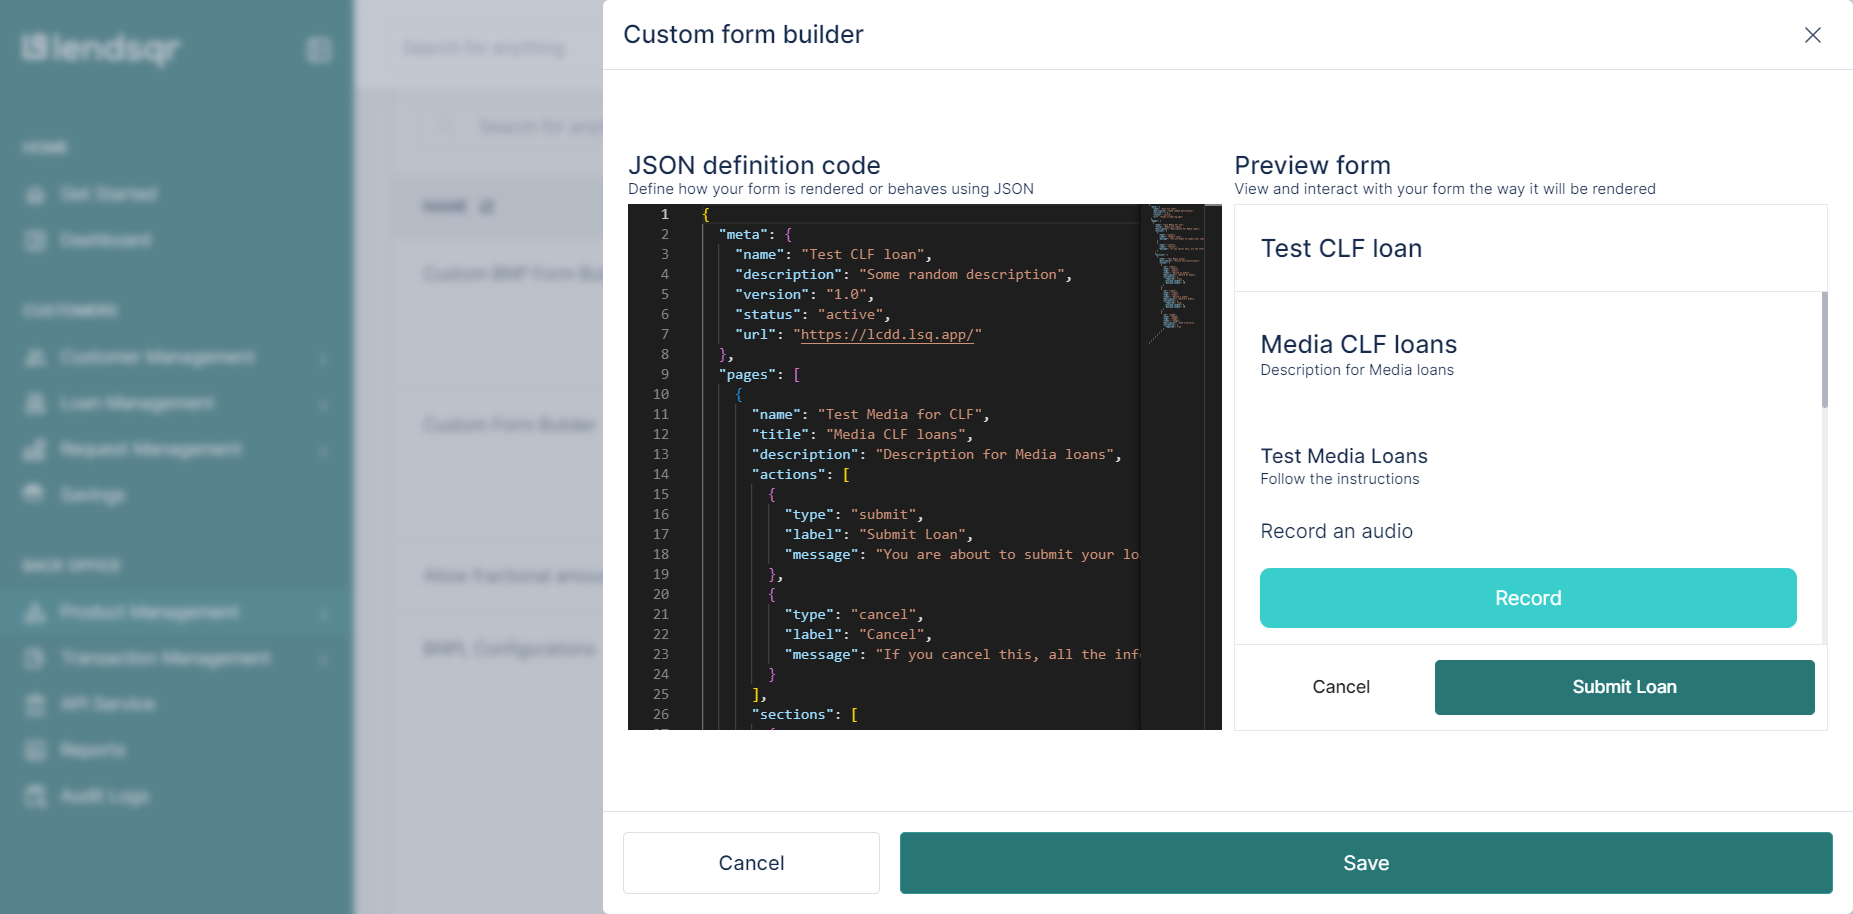
6. Copy and Paste your JSON Payload
- You can either use the below payload or modify it as required.
{ "meta": { "name": "Test CLF loan", "description": "Some random description", "version": "1.0", "status": "active", "url": "https://lcdd.lsq.app/" }, "pages": [ { "name": "Test Media for CLF", "title": "Media CLF loans", "description": "Description for Media loans", "actions": [ { "type": "submit", "label": "Submit Loan", "message": "You are about to submit your loan request. Please confirm your submissions and click submit to proceed?" }, { "type": "cancel", "label": "Cancel", "message": "If you cancel this, all the information you have provided will be discarded. Are you sure you want to do this?" } ], "sections": [ { "name": "Test Media Loans", "description": "Follow the instructions", "fields": [ { "id": "audio", "name": "Audio", "type": "audio", "label": "Record an Audio", "description": "Record an Audio", "validation": { "required": true, "minimum_length": 5, "maximum_length": 10 } }, { "id": "video", "name": "video", "type": "video", "label": "Record a Video", "description": "Record a Video", "validation": { "required": true, "minimum_length": 5, "maximum_length": 10 } }, { "id": "image", "name": "Image", "type": "image", "label": "Image", "description": "Take a Picture", "validation": { "required": true } } ] } ] } ] } - Simply copy and paste the payload into the JSON definition code editor.
7. Click on "Save"
- Once you have pasted your JSON payload, click on the Save button to apply the changes to the loan product.

